We'll provide a step-by-step guide to using the terminal on Linux Mint, from opening the terminal to executing commands. With this knowledge, you'll be able to navigate and utilize the terminal with ease, whether you're installing software, managing files, or troubleshooting issues.
Linux Mint is an open-source operating system known for its ease of use, reliability, and security. It is based on Ubuntu and Debian and comes with various pre-installed software packages that make it suitable for personal and professional use. One of the most powerful and versatile tools in Linux Mint is its renowned terminal, which allows users to interact directly with the system through a command-line interface.
While the terminal can seem intimidating to new users, it is essential for those who want to take full advantage of the system’s capabilities. In this article, we will provide a beginner’s guide to using the terminal on Linux Mint. It covers everything from basic commands to advanced customization options so that even someone without experience with the terminal can learn how to use it effectively. By the end, readers will have a solid understanding of the terminal’s features and be able to perform a wide range of tasks efficiently. You will be pleasantly surprised to learn what your Linux Mint terminal can do. Here is a list of the 7 best open-source terminal web browsers.
Getting started with the Ubuntu terminal
Step 1: Click on the “Menu” button in the screen’s bottom-left corner.

Opening the Cinnamon menu
Step 2: Navigate to the “Administration” menu and click on “Terminal” to open the default terminal emulator, also known as Cinnamon Terminal. Alternatively, you can use the keyboard shortcut “Ctrl + Alt + T” to open the terminal directly.

Opening the Linux Mint terminal
Step 3: Once you have opened the terminal, you will see a window with a command prompt that looks something like this:
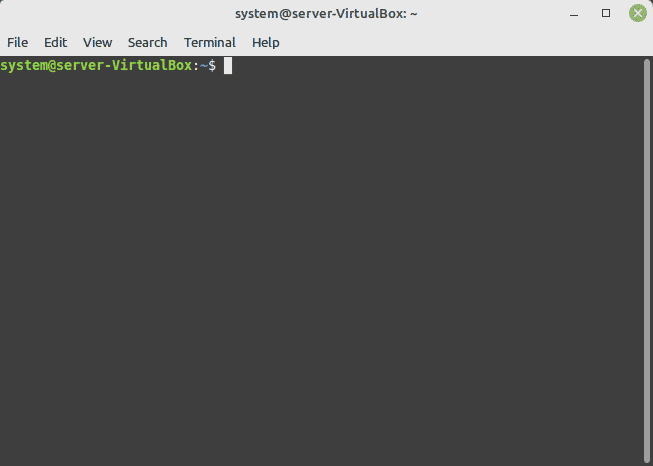
Linux Mint terminal
The prompt shows the username of the current user, followed by the computer’s hostname, and then the current working directory. Finally, the “$” symbol indicates that the terminal is ready to accept commands. The terminal interface consists of a command line and a shell. The command line is where you type your commands, while the shell is the program that interprets and executes those commands. In Linux Mint, the default shell is called Bash (short for Bourne-Again SHell), one of the most common in the Linux world.
In addition to the prompt, the terminal window has a title bar, a menu bar, and a toolbar. The title bar displays the terminal emulator’s name and the current session’s title. The menu bar contains various menus that allow you to customize the terminal emulator’s settings. At the same time, the toolbar provides quick access to some commonly used features, such as copy and paste. A terminal emulator client is a graphical application that allows you shell access to the host machine using intuitive commands. Now that you know the interface, let’s move on to some basic commands.
Basic commands to use in the terminal
This section will introduce you to some of the most commonly used terminal commands in Linux Mint. These commands are fundamental to interacting with the file system and performing various tasks on the command line.
ls – List files
ls command lists the files and directories in the current working directory. When you type ls and press enter, the terminal will display a list of all the files and directories (not their sub-directories) in the current location.
ls
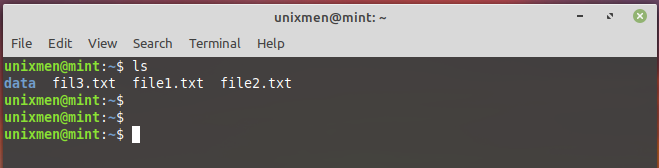
Listing files
cd – Change directory
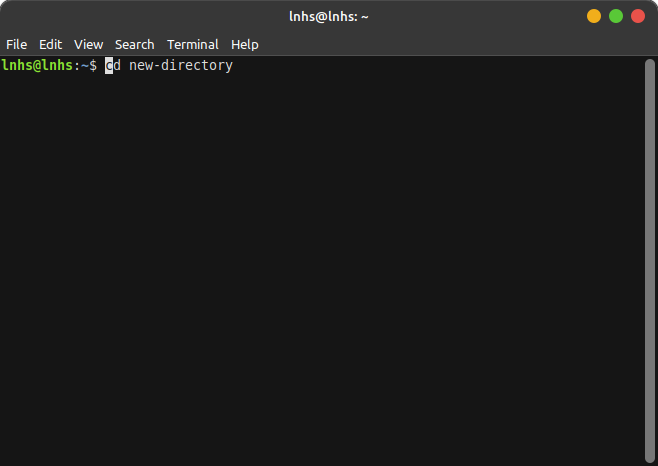
cd command is used to change the current working directory. To change the directory, you need to provide the path of the directory you want to navigate to. You can use either absolute or relative paths. For example, you would use cd /home/user/Desktop or cd Desktop (if you are already in the home directory).
cd Desktop

Changing the working directory to Desktop
mkdir – Make directory
mkdir command is used to create a new directory. To create a directory, you need to provide its name. Terminal, by default, creates it in the current location.
mkdir new-directory
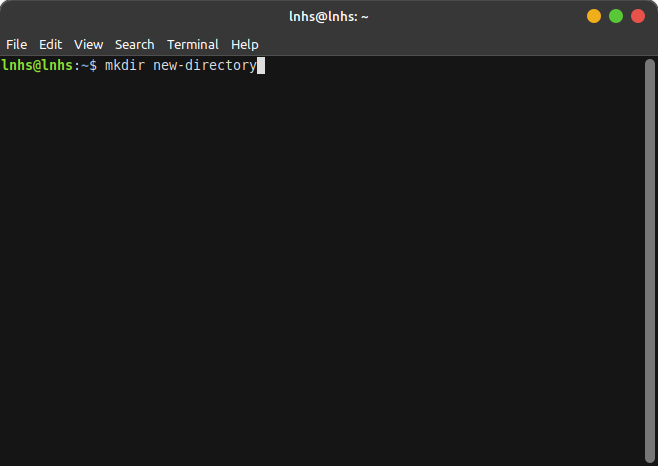
Creating a new directory
rm – Remove files
rm command is used to remove files from a particular directory. To remove a file, append this command with the file name you want to delete.
cd new-directory

rm document1
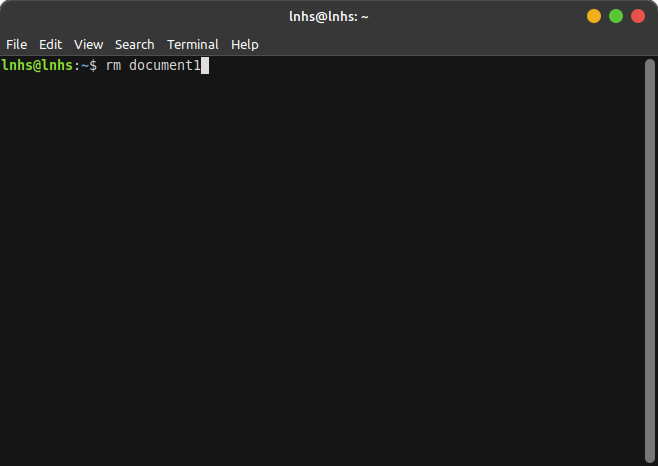
Removing a file from a directory
Note: Be careful when using the rm command, as it permanently deletes files and directories without sending them to the trash. Therefore, it is recommended to always double-check the file name before using this command.
These are just a few of the many commands in the Linux Mint terminal. The following section will show you how to navigate the file system.
Navigating the file system
Navigating the file system is an important part of using the terminal on Linux Mint. This section will show you how to navigate the Linux file system using some more basic terminal commands.
pwd – Print working directory
The pwd command is used to print the current working directory. When you type pwd and press enter, the terminal displays the full path of the current working directory starting from the root. It allows you to locate yourself in the file system.
pwd
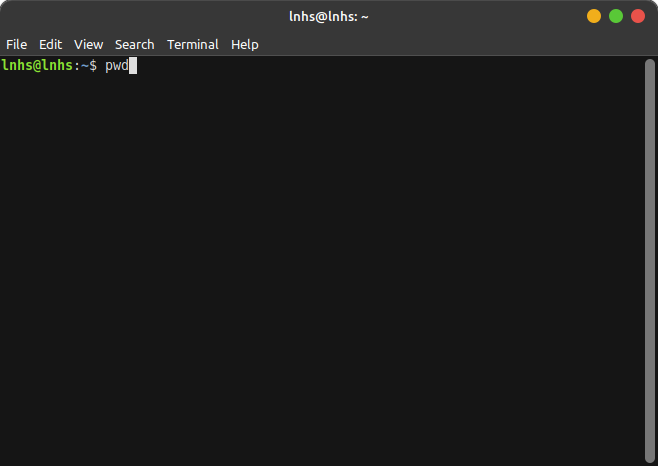
Printing the working directory
rmdir – Remove directory
Instead of removing files individually, you may have to remove an entire directory simultaneously. rmdir command is used for this purpose. However, it is important to note that the directory must be empty for this to work.
rmdir new-directory
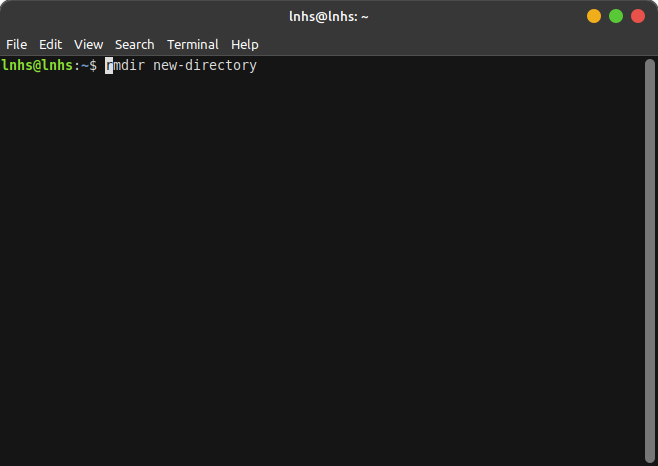
Removing an existing directory
chmod – Change file & folder permissions
chmod command is used to change the permissions of a file or folder. You can use various options and a combination of numbers to set the desired permissions.
chmod 644 myfile.txt
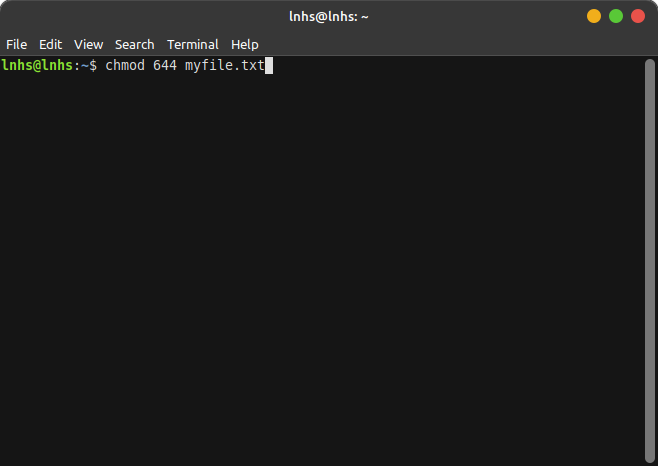
Changing file permissions
These are just a few commands for navigating the Linux file system using the terminal. With practice, you will become more comfortable with them and able to navigate the entire width of the system quickly and more efficiently.
Working with files
In this section, we will show you how to create, open, edit, and delete files using the terminal and how to use popular text editors like Nano, Vim, and Emacs.
To create a new file, you can use the touch command followed by the file name you want to create. Alternatively, you can use a text editor for this task.
touch myfile.txt
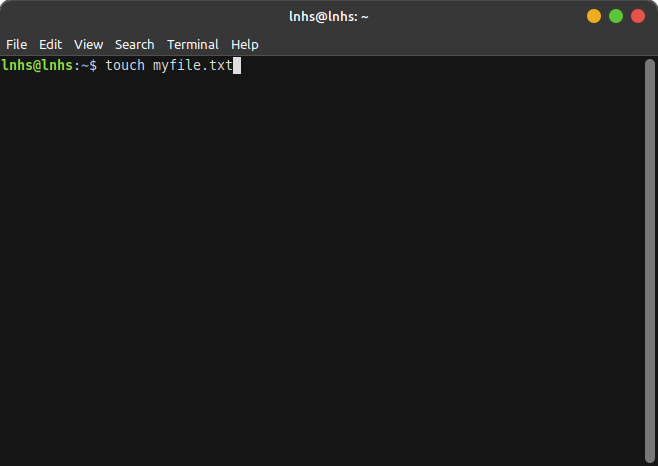
Creating a new text file
You can use a text editor to open a file in the terminal. Nano is the most straightforward editor to use, making it a good choice for beginners. To open a file using Nano, type nano followed by the file’s name.
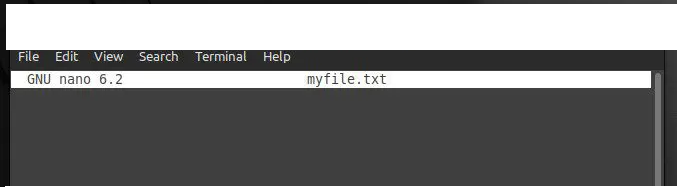
Opening a text file with Nano
When you open a file in Nano, you can edit the file directly in the terminal. The basic commands for editing text in Nano are shown at the bottom of the screen. You can use the arrow keys to move the cursor and various keyboard shortcuts to perform different actions.

Nano keyboard shortcuts
To save and exit a file in Nano, press Ctrl + X to exit, then press Y to save the changes. You will be prompted to confirm the file name and location.
Vim and Emacs are more powerful text editors but have steeper learning curves. Both have a wide range of features and can be customized extensively. However, most of the basic command line tasks have similar syntax and, therefore, can be interchanged between any of the widely used editors.
Installing and managing software via terminal
One of the major benefits of using Linux Mint is the ease with which you can install and manage software packages. This section will show you how to use the apt-get and dpkg commands to install and manage new software on Linux Mint.
To install a software package, you can use the apt-get command followed by the package name you want to install. The apt-get command automatically downloads and installs the package and any required dependencies.
sudi apt-get install firefox
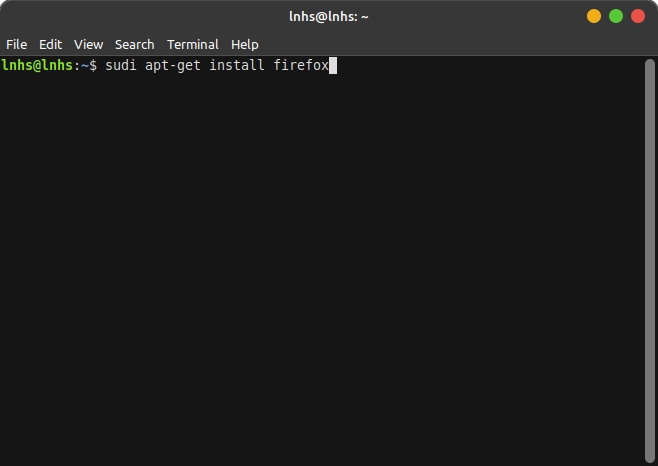
Installing firefox with the apt-get command
For removing a particular package, use the same command with the remove parameter. Doing so deletes that package while keeping the configuration data.
sudo apt-get remove firefox

Removing firefox with apt-get
You can also update or upgrade packages with the apt-get update command. This downloads the latest package information from the software repositories and automatically swaps them with the currently installed versions.
sudo apt-get update

Updating packages with apt-get
In addition to the apt-get command, you can use dpkg to manage local packages. The dpkg command allows you to install, remove, and query information about all local packages supported by the Linux Mint system.
To install a local package, enter the dpkg command followed by the -i parameter and then the package name.
sudo dpkg -i package.deb
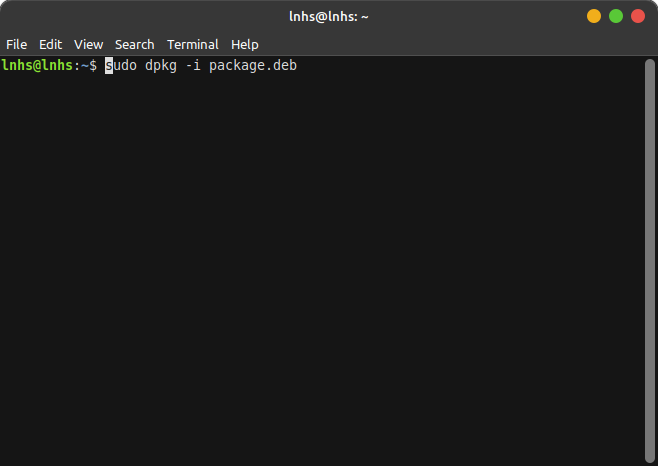
Installing a local package
To remove a local package, enter the dpkg command followed by the -r parameter and then the package name.
sudo dpkg -r package.deb

Removing a local package
To query information about a local package, enter the dpkg command followed by the -s parameter and then the package name.
sudo dpkg -s package.deb
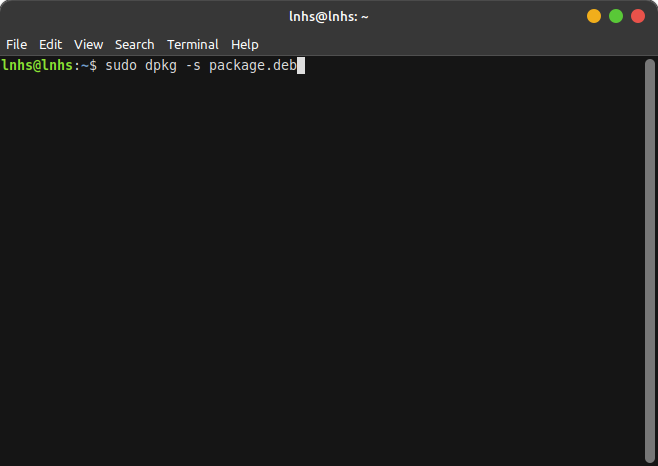
Querying information about a local package
Customizing the Ubuntu terminal
The terminal on Linux Mint can be customized to suit individual preferences, making working with it more comfortable and efficient. In this section, we will discuss some ways to customize the terminal.
Changing the color scheme
The default color scheme of the terminal on Linux Mint may not be suitable for everyone. To change the color scheme, open the terminal and go to Edit > Preferences. Click on the “Colors” tab to see a list of available color schemes. Choose the one that suits your preferences, or create your own by clicking the “Custom” button.

Changing the color scheme
Changing the font size
If the terminal’s font size is too small or too large, you may change it. First, open the terminal and go to Edit > Preferences. Next, click on the Appearance tab to see options to change the font, font size, and font color.

Changing the font size
Adding aliases
Aliases are shortcuts that can replace long commands with shorter ones. This can save time and make working with the terminal more efficient. To add an alias, open the terminal and edit the .bashrc file in your home directory using a text editor like Nano. Add the alias command to the file, and save the changes.
alias ll = 'ls-alF'
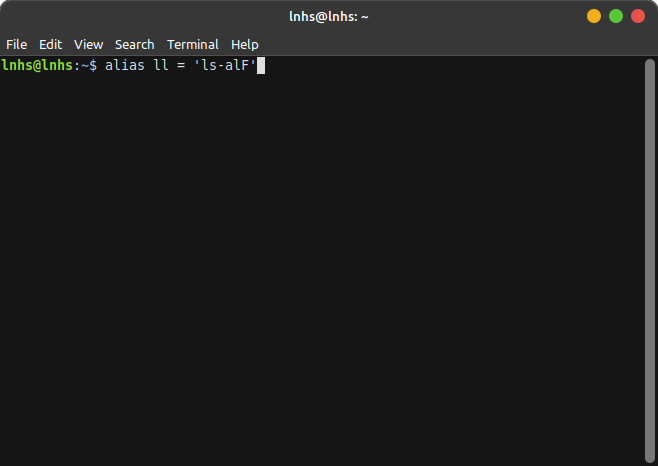
Adding aliases
This command creates an alias for the ls -alF command, which lists all files in the current directory with detailed information.
Customizing the prompt
The prompt is the text that appears before the command prompt in the terminal. By customizing the prompt, you can make navigating the file system easier or display information such as the current user or hostname. To customize the prompt, edit the .bashrc file in your home directory using Nano. Then, add the following code to the file, and save the changes.
Working with files
In this section, we will show you how to create, open, edit, and delete files using the terminal and how to use popular text editors like Nano, Vim, and Emacs.
To create a new file, you can use the touch command followed by the file name you want to create. Alternatively, you can use a text editor for this task.
touch myfile.txt
Creating a new text file
You can use a text editor to open a file in the terminal. Nano is the most straightforward editor to use, making it a good choice for beginners. To open a file using Nano, type nano followed by the file’s name.
Opening a text file with Nano
When you open a file in Nano, you can edit the file directly in the terminal. The basic commands for editing text in Nano are shown at the bottom of the screen. You can use the arrow keys to move the cursor and various keyboard shortcuts to perform different actions.
Nano keyboard shortcuts
To save and exit a file in Nano, press Ctrl + X to exit, then press Y to save the changes. You will be prompted to confirm the file name and location.
Vim and Emacs are more powerful text editors but have steeper learning curves. Both have a wide range of features and can be customized extensively. However, most of the basic command line tasks have similar syntax and, therefore, can be interchanged between any of the widely used editors.
Installing and managing software via terminal
One of the major benefits of using Linux Mint is the ease with which you can install and manage software packages. This section will show you how to use the apt-get and dpkg commands to install and manage new software on Linux Mint.
To install a software package, you can use the apt-get command followed by the package name you want to install. The apt-get command automatically downloads and installs the package and any required dependencies.
sudi apt-get install firefox
Installing firefox with the apt-get command
For removing a particular package, use the same command with the remove parameter. Doing so deletes that package while keeping the configuration data.
sudo apt-get remove firefox
Removing firefox with apt-get
You can also update or upgrade packages with the apt-get update command. This downloads the latest package information from the software repositories and automatically swaps them with the currently installed versions.
sudo apt-get update
Updating packages with apt-get
In addition to the apt-get command, you can use dpkg to manage local packages. The dpkg command allows you to install, remove, and query information about all local packages supported by the Linux Mint system.
To install a local package, enter the dpkg command followed by the -i parameter and then the package name.
sudo dpkg -i package.deb
Installing a local package
To remove a local package, enter the dpkg command followed by the -r parameter and then the package name.
sudo dpkg -r package.deb
Removing a local package
To query information about a local package, enter the dpkg command followed by the -s parameter and then the package name.
sudo dpkg -s package.deb
Querying information about a local package
Customizing the Ubuntu terminal
The terminal on Linux Mint can be customized to suit individual preferences, making working with it more comfortable and efficient. In this section, we will discuss some ways to customize the terminal.
Changing the color scheme
The default color scheme of the terminal on Linux Mint may not be suitable for everyone. To change the color scheme, open the terminal and go to Edit > Preferences. Click on the “Colors” tab to see a list of available color schemes. Choose the one that suits your preferences, or create your own by clicking the “Custom” button.
Changing the color scheme
Changing the font size
If the terminal’s font size is too small or too large, you may change it. First, open the terminal and go to Edit > Preferences. Next, click on the Appearance tab to see options to change the font, font size, and font color.
Changing the font size
Adding aliases
Aliases are shortcuts that can replace long commands with shorter ones. This can save time and make working with the terminal more efficient. To add an alias, open the terminal and edit the .bashrc file in your home directory using a text editor like Nano. Add the alias command to the file, and save the changes.
alias ll = 'ls-alF'

Adding aliases
This command creates an alias for the ls -alF command, which lists all files in the current directory with detailed information.
Customizing the prompt
The prompt is the text that appears before the command prompt in the terminal. By customizing the prompt, you can make navigating the file system easier or display information such as the current user or hostname. To customize the prompt, edit the .bashrc file in your home directory using Nano. Then, add the following code to the file, and save the changes.